Friday, December 19, 2008

Put on jammies, get comfy, and....

READ!

I cannot stress enough the importance of reading to your children. The benefits of reading to children are immense and considering the attention span of the average blog reader, I'll try to summarize as best as I can- It molds our kids into becoming readers, it expands there vocabulary and ability to form well structured sentences, it provides quality bonding time, it builds listening skills, increases a child's attention span, helps them learn to concentrate, it develops and fosters a child's natural curiosity, etc.

In the last couple of years, I've developed an interest in donating to worthy causes. Typically, anything that involves helping children pulls at my heart strings. Consider my side bar to be Exhibit A.

Something grabbed my attention while wandering about the web this morning, and it made me think "You mean, not everyone reads to their children daily?" I've always thought of it as part of the routine.... feed them, bathe them, and read books. I began to research more. As it turns out, many households don't even have books. Then I sat back and thought about how many times I've spent the night at other peoples houses, and at bedtime looked around their child's room for a book or two to read K, and not being able to find one. Kaytlin must have books read to her at bedtime. It's a long lived ritual and if it doesn't happen she just doesn't know what to do. Now we bring books with us on overnight trips.

Thanks to our long commitment to reading books, K has an excellent vocabulary and forms sentences that most other 5 year olds would never even think of forming. For me, this is a by-product, not the primary reason. I do it because it provides us with time to settle in from a long day before going to sleep. It provides us with cuddle time, time for her to ask one million questions, time for her to learn something new that she isn't learning about in school, time for me to be the teacher.

(K right before bedtime... she was cold so she put a pullover on until it was time to go to sleep, do admire the mama made crochet leg warmers =), I couldn't find a pic of us reading, but this was right before book time)
Which brings me to my newest charitable cause: First Book. According to there site- "First Book provides new books to children in need, addressing one of the most important factors affecting literacy – access to books. An innovative leader in social enterprise, First Book has distributed more than 60 million free and low cost books in thousands of communities." For every $2.50 donated, a book is provided for a child in need.
If you are looking to promote reading and provide low income families with books for there children, please consider donating to First Book.
They need not only funding, but volunteers. Please see the site for additional information.


My search for an affordable, yet quality, gift for my nieces/nephews/young cousins is over..... everyone is getting books.

Wednesday, December 17, 2008

100th post!!! Flower Encased Tutu Tutorial

Wow I can't believe this is my 100th post!! I was going to make this just a regular blog entry, showcasing my amazing iphone pictures of handmade Christmas gifts (lol at the 'amazing iphone pictures').... but I figured since this is somewhat of a monumental post, I should probably make it a little more than usual. Consider this a Christmas gift, from me to you. Alas...

The Flower Encased Tutu Tutorial!!

Supplies/Materials list-
1.5 yd chiffon (nylon works best), tulle, or some other sheer/opaque fabric.
3-5 floral stems of your choice (containing several flowers each)
Thread to match
Elastic (I use either 3/8" or 1/2"... pictured is 3/8")
And.... the almighty seam ripper, pins, scissors, measuring tape, etc.

Measurements and such-
I cut my 1 1/2 yards straight down the fold crease and made two. It came out to be about 14-15" long. I made them for twin 3yo little girls. If you want them longer, cut accordingly. Take your desired length, multiply by two, then add about 2.5" for the elastic casing. If you're making one for a girl older than 6ish, you should use about 1 3/4-2 yards instead. To get the right amount of elastic, you'll want to take the child's belly measurement and subtract a few inches (taking into consideration how stretchy the elastic is... some is more stiff and less stretchy than others).

Shall we begin?

Prep- Cut your fabric to the desired width (see above for suggestions), pull flowers off of the stems and discard the stems, and cut your elastic.

Step 1- Sew your two ends together so that you have a single layer tube. The seam should be the cut ends (NOT the slevadge ends.. the ends with little holes that looks different from the rest of the fabric).

Step 2- Fold the tube in half all the way around and pin it. You should have a two layer tube with the raw edges at the top and a fold at the bottom, like this... (BTW- blogland.... meet my sewing table). Pin in place at a few places so it's easier to work with.

Step 3- Sew it all together, leaving a 6" opening (you want the opening to be big enough to put your fist in... I made mine a bit too small).

Step 4- Fill 'er up with flowers!! The more the better... but that's just my opinion ;) Insert flowers through the opening. Shake them around and try to distribute them a bit so you can see when there's enough.


Step 5- Close the opening.

Step 6- Make your elastic casing. If you aren't using nylon fabric or some other non-fray fabric, you'll want to fold your raw edges under (unlike the picture, where the raw edges are left poking out, but my fabric is some kind of funky polyester/nylon half breed that doesn't fray). I fold the fabric over and since I'm using a 3/8" elastic, I make about a 3/4"-1" casing, so that it's easy to pull the elastic through. I hate using pins so there are none in any of the pictures, but you may want to pin things in place if you aren't good at eyeing seam accuracy. Make sure you leave an opening to run your elastic through!!


Step 7- Pull your elastic through the casing, sew the two ends together, and close up your casing. I purchased a strap turner (notions section at Joanns) and it has been an amazing tool. I use it to pull elastic through every time. It's basically a long skinny piece of metal with a hook at the end (you can see a bit of it in the above picture, it's to the right). I just hook the elastic and run it through as far as I can without bending the metal; then I pull it out, pin the exposed end of elastic, and insert it into the other side, hook that side of the elastic, and pull it through the rest of the way. It's quicker than the safety pin method, well... to me it is.

Step 8- Shift your flowers around a bit to distribute them evenly and VOILA! You're done!


I hope you've enjoyed this little free tutorial. If you have any questions or if something isn't quite clear, please shoot an email to kaytiebugs@yahoo.com or leave a comment below. I'd love to see your finished creations, so if you blog/flickr/etc. post a link to your post or picture so I can check it out!!

Friday, December 12, 2008

Some Christmas gifts

Forgiveness is all I'm asking of my blog readers for Christmas! Forgive me for still using crappy iphone pictures!! The iphone really does take good pictures if it's daylight or in a well lit room.

Here are a couple of things I've been working on.

The blanket is for my grandmother. It is my first ever quilt! It's a rag quilt, but still. It wasn't nearly as time consuming or detailed as a normal quilt, but it was a really good way to take a leap into the world of quilting. I'm making another one for my mom, hers is bears and such. It'll match her decor perfectly.
The other one is a flower encased tutu. I took pictures of the process so I could write a tutorial. I hope to have it done sometime in the next few days... but I've been working on the pettiskirt tutorial for months now and haven't gotten it done lol. Initially I was going to sell it, but honestly I think I'm just going to post it for free. I'm about halfway done writing it and I try to work on it here and there but it usually gets put on the back burner. The flower encased tutu, however, is pretty simple and won't take too long to write up.
I've also been working on felt food. I've never done felt food before. I'll elaborate more when I have pictures to show.
I've been working on pajama pants like a mad woman too. I have a pattern that's just one piece, so it's a bit quicker than the two piece pants patterns. They come together in a matter of maybe 15 minutes... hemming, elastic casing, and all.
Back to the sewing machine......
Happy Holidays!
Amanda

Monday, December 8, 2008

The stockings were hung....

I absolutely L-O-V-E Christmastime. I'm not sure if it's the happiness that buzzes in the air, the insane amount of shopping, redecorating my house, twinkling lights, the smell of real Christmas trees, warm fires, that special feeling that only comes this time of year, listening to Christmas songs on the radio and being reminded of my fondest childhood memories, creating new memories with my family, or maybe it's that whole getting presents thing.... lol. I just love Christmas and everything that comes with it.

We just finished decorating our house and I just love it. We don't have anything new (yet), but the same ole stuff still brings about a certain magic. Especially my Christmas tree ornaments. I started out with an awesome purple and blue getup that my dad won at Target. He had his choice of any of the pre-decorated tree displays. He picked the purple tree because it is my favorite color. When I moved out on my own, he gave it to me. Tons of lights, ornaments, even an angel and ribbon. I used it for a couple of years. As much as I absolutely loved it, hubby HATED it. Plus it didn't suit our decor nor my personal tastes as an adult. So... I slowly started to buy burgundy and gold decorations. We've accumulated what I think is an acceptable amount. I just love gobs and gobs of ornaments. Some folks like just a handful of ornaments.... I want an ornament every 6" or so.

I'm holding out on the big reveal until the end.... (not like you can't just scroll down anyway lol)

Here are some of my fave ornaments/decorations...


Here are some pics of the process... DH and DD are too cute....

Nutcrackers are creepy and go on the back of the tree....
This tree goes above the door in a window....
Here... (it fits... it's a squeeze, but it fits... and it looks nice from the road)(admire the new floors)

And alas.... the big reveal....


Here she is....


Monday, December 1, 2008

Super Easy Hairbow Holder Tutorial


I made this for my daughter and everyone just loves it. You've probably seen similar ones on etsy selling for $15-20+. If you're like me, you probably have the bulk of the supplies necessary already on hand... so this is a very affordable project.

Supplies
Letter (from craft store, various styles and sizes available)
Grosgrain ribbon
Hot glue gun or E6000
Pre-finished wood embellishments (also in craft stores)
Scissors
Lighter, fray check, or wood burner

1) Paint your letter in the desired color using craft paint. I painted mine solid white, but you could do polka dots or any other design. I'm just not that good with painting, my medium is definitely fabric lol. Let your letter dry completely before gluing anything to it.

2) Cut ribbon strips, I did mine roughly 18" and 16" long. Cut the ends at an angle and seal the edges with either the lighter or the fray check (or cut the ribbon with your wood burner).

3) Cut two more ribbon strips at your desired length. These will go at the top of the letter. Cut them long if you want them drapy, or cut them short. Play with the lengths before cutting. I did mine at about 24" long each. Glue the ribbon to the back of the letter.

4) Once your letter is dry, glue the ribbon to the back of the letter.

5) Play with the embellishments, try different locations until you find the way you think it looks best. Glue the embellishments on.

Wait for the glue to dry completely before hanging. Attach to the wall using a hook, nail, etc. You could also get picture hanging hardware and attach it to the back of the letter, and skip adding the ribbon, so that the letter itself is hung to the wall.

Have fun! I spent less than $5 on the letter and the wood embellishments, I had the rest of the supplies on hand. Pair this with a hairbow from Apple Blossom Bows and you've got one great Christmas gift!! Apple Blossom Bows is the wonderful etsy boutique who custom made Kaytlin's awesome Birthday hairbow.

Friday, November 28, 2008

It's TIME!!!

Christmas Time, that is!! I so love the Holiday Season! The twinkling lights, the smell of cinnamon and Christmas trees in the air, the warm feeling of buying the most amazing gift for someone, that special air of love that floats around, even strangers are a bit more polite. I just love it.

To welcome the season, we have these... my first pair of crochet toe-up socks. These were surprisingly easier than I expected. My crochet abilities stop at squares and rectangles, so this was something new for me. It was a quick project and my daughter loves them... although she slips and slides around a lot lol. See the little snippet of our new floors? Wow that was a project. We'll get to that in a minute. Isn't she cute in her little tutu? The child loves dressup.


To something a bit more exciting..... below, you are viewing the very first Kaytiebugs pattern!! Well, the result of it anyway. This is the prototype. It's wrinkled and the pic was taken in poor lighting... but I'm using a camera phone so it can't get much better (do forgive the photo quality, my camera is dead and I'm not getting a new one for a couple of weeks). I drafted the pattern on gift tissue paper (that was the easy part). Then I started sewing. I can whip some clothes up in no time... but a lined handbag? I have made all of two different handbags... one was ugly and horrible, the other is this one... but it was easier because the pattern didn't require all of the seams be hidden, the base seams are bias taped around instead of flipped inside and concealed. It took a lot of head scratching, patience (which I have very little of), seam ripping, pinning, repinning, and ALAS I have my first completely custom designed handbag! Amy has something somewhat similar, but I didn't like the straps or the overall shape (or the thought of paying $15 for a pattern lol). It's hard to see in this picture, but there are two inward pleats on the front. It's fully lined and has a pocket inside (not a zippered pocket, you know how much I hate zippers).


Back to the floors. Wow. I had no idea laying new floors would be such a huge challenge!! We ripped up the old parquet floors that had a thick layer of glue holding them down. We had tile in the kitchen, but that came up very easily. It took my DH and step dad every bit of two full days to do the downstairs (not including the time it took to pull up the old floors and finish the baseboards). I know what you're thinking- "What kind of person in there right mind rips up real wood floors and replaces it with laminate?!?" 1) The previous homeowners installed the tile and parquet, and did a pretty poor job at it; 2) The parquet was not very pretty and the moment I saw the house I told my hubby "If we buy this house, I want new floors in less than a year." It was that bad.... one of the very few flaws in the house, but fixable; 3) Parquet is sooo 1995 lol kidding... it's just not my style (or the right color); 4 (and most important) our upstairs toilet flooded while we were away overnight.... the floor was destroyed beyond repair in a big section. We covered it with a rug until we were able to replace the floors. Ignore the random rug in the pics... it's been moved. And ignore the lack of finished baseboards... we've finished them.

Here's the old floor (before flooding)....
Here's the new floor (bad pic... poor lighting, camera phone)....

During the project...


We used Ikea Tundra flooring and Floor Muffler underlayment and I swear I can walk on the floor with heels on and it sounds thisclose to the same as walking on a regular non-floating floor. If you are going to get laminate, Floor Muffler is a MUST. Don't settle. Yes, it's twice as much as the regular stuff, but it's WELL worth it in the long run. Next redo- the kitchen cabinets... but that'll be a while.

In the meantime, we're currently building a luxury dog house for our 120lb half rottie half shepherd. Not really luxury lol, but it'll have a bit of lighting to provide heat, and we do plan to put Christmas lights on it and plant shrubs around it in the spring to make the area look nice. We're putting wide beadboard type stuff on the outside and painting it the same color as the house. It's about 5'x5' and the peak of the roof is about as tall as I am.... 5'4". I'll post pics when it's finished. K decided to crawl in there and decorate with her old bedroom decor... it's too cute. Rugs, wall hangings stuck in the framework, even a little table.

PS-
Only a child could spot an empty flooring box and see a robot! It took me a second, but then I saw it. She didn't do anything to the box, this is the way it looked laying out empty. She later colored it and put glitter on it. More amazing... she's wearing matching jammies! lol

In the next episode.... finished Handmade Holidays goodies (with pics from the camera phone *pouts*)! 5 things down.... 1945577 more to go!!

Tuesday, November 25, 2008

One million uses for Flannel

Okay, maybe not quite one million.... but a bunch!

Joanns is selling flannel for $1.49/yard on Black Friday, so I'm trying to think of as many uses for it as possible! I haven't used flannel much, and when I have it's been for pajama pants... so a bit of 'outside the box' thinking was much needed.

Here are some things I've come up with thus far...

Rag quilts- here's a helpful tutorial from Knit and Tonic. I'm really loving this rag quilt from Debbie Mitchell.


Pajamas (obviously)- Lots of people will be getting these =). To make them a bit more original, you could have the main fabric in a print, and the bottom in a solid with ribbon trim between the two.

Throw pillows- Cozy bed pillows. Embellish them to make them even cuter. Or make huge floor pillows. You can find a HUGE list of pillow tuts at thedomesticdiva blog.

Receiving blankets- I love this tutorial from Observations of an every day mom.


Baby toys- A vast array of soft baby goodness can be made. Here are some tutorials, just to name a few- baby blocks, fabric beach balls, and a little bunny.

Boo boo hot/cold rice packs- Simple tutorial here.

Burp cloths- Here's a tut from Homemade by Jill. I'm really loving the rag edge =)
Sashet- Visit Femininity in a Feminist World for a wonderful lavender sashet tutorial, and read the blog of an amazing teen.

Scarves- You could make a rag scarf, similar to the one seen on Sandi Henderson where she displays Flannel Ginger Blossom fabric. Use the rag quilt tutorial above. Or you could go with something more traditional.


Reading companion- Part bookmark, part glasses case. Visit marmadaisy to find out how.

If I find anything else that really jumps out at me, I'll update this. Hope you guys enjoy shopping and sewing!!

Sunday, November 23, 2008

Christmas Shopping Etsy Style ~ Rockin' Holidays

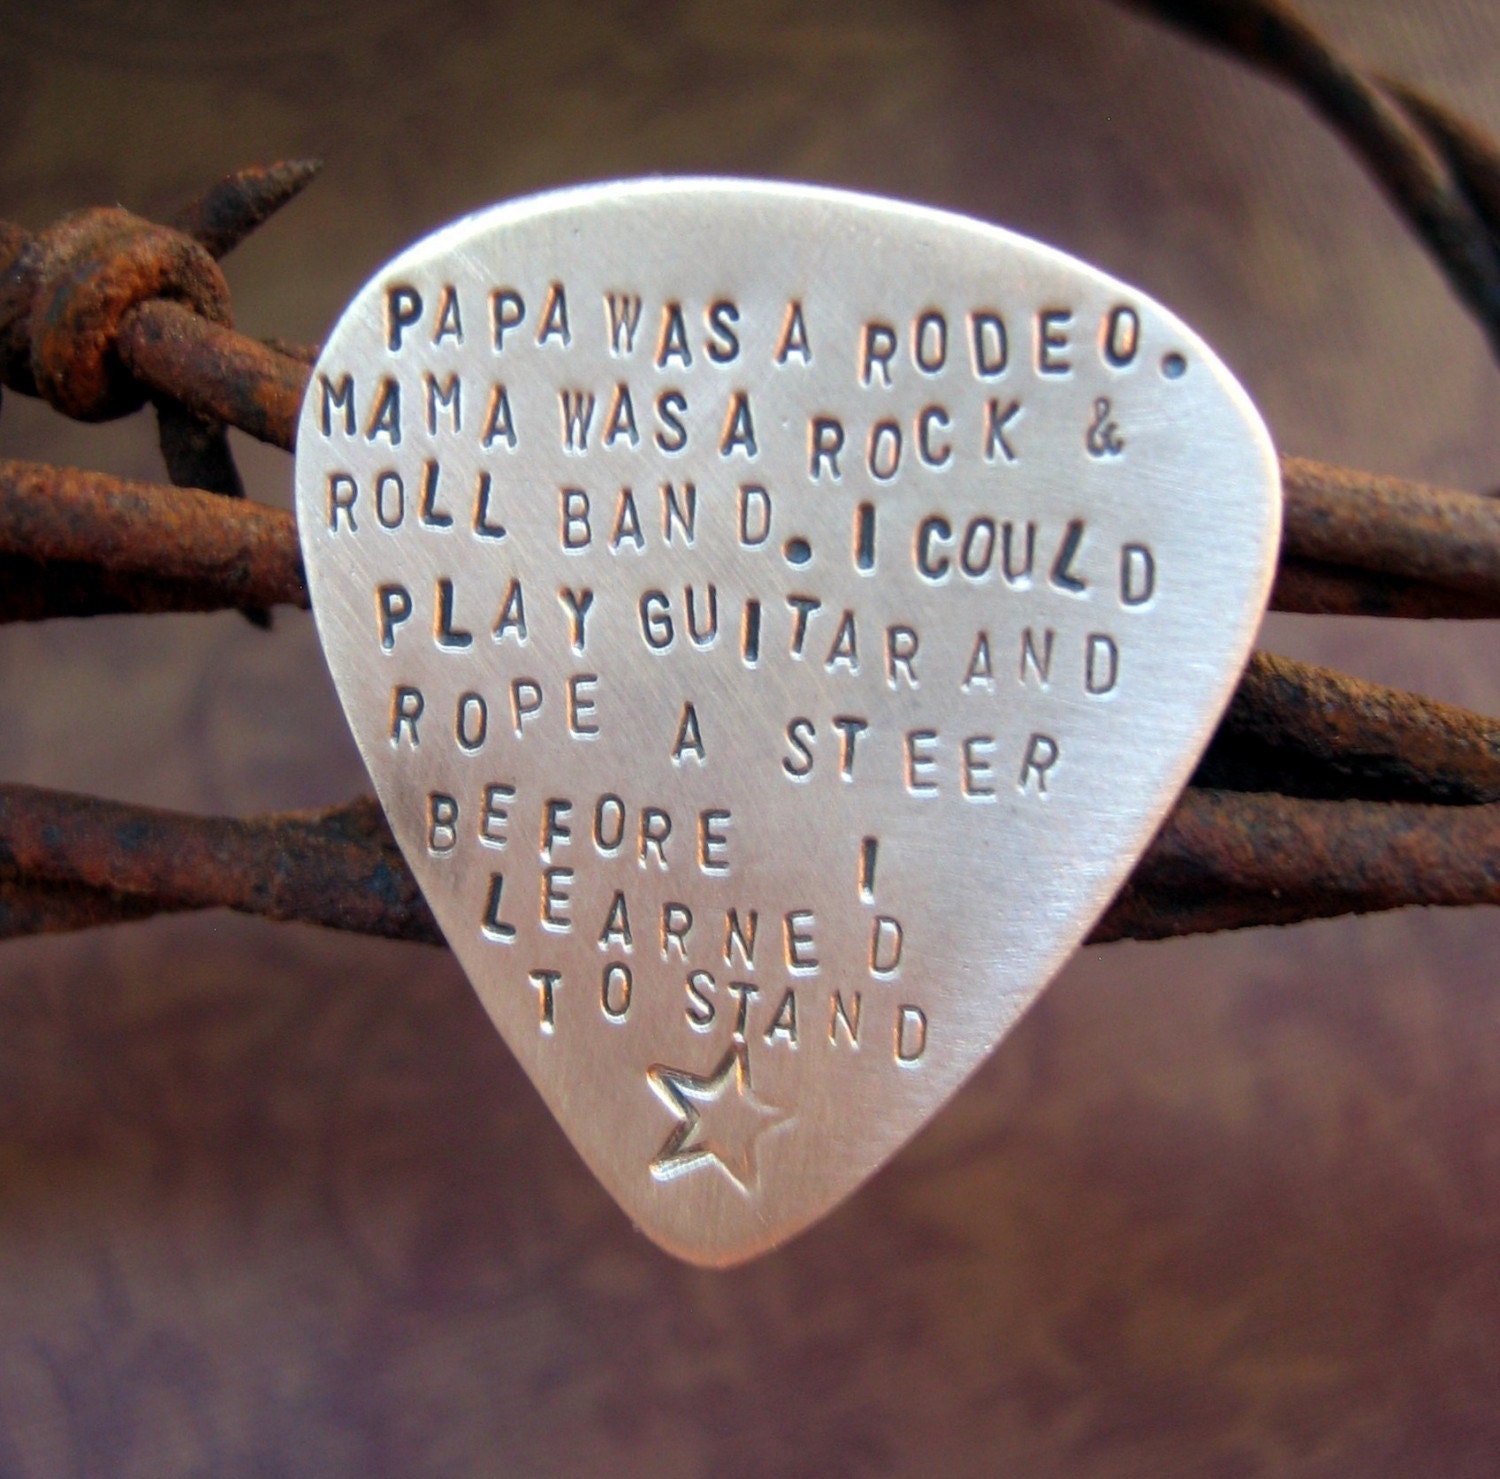
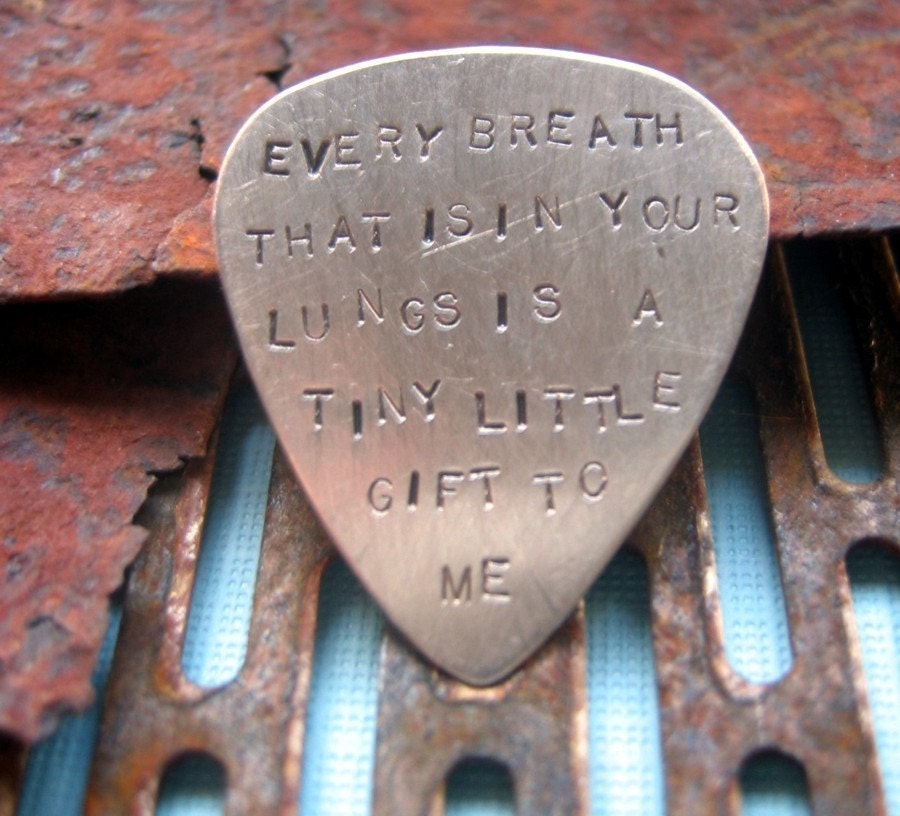
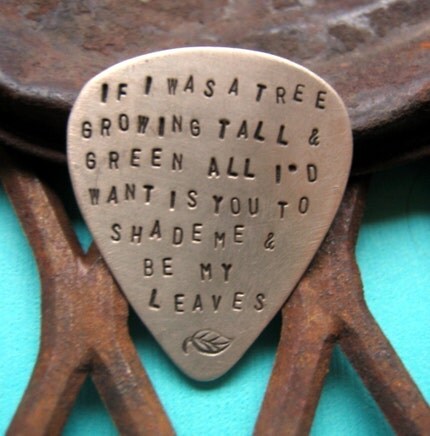
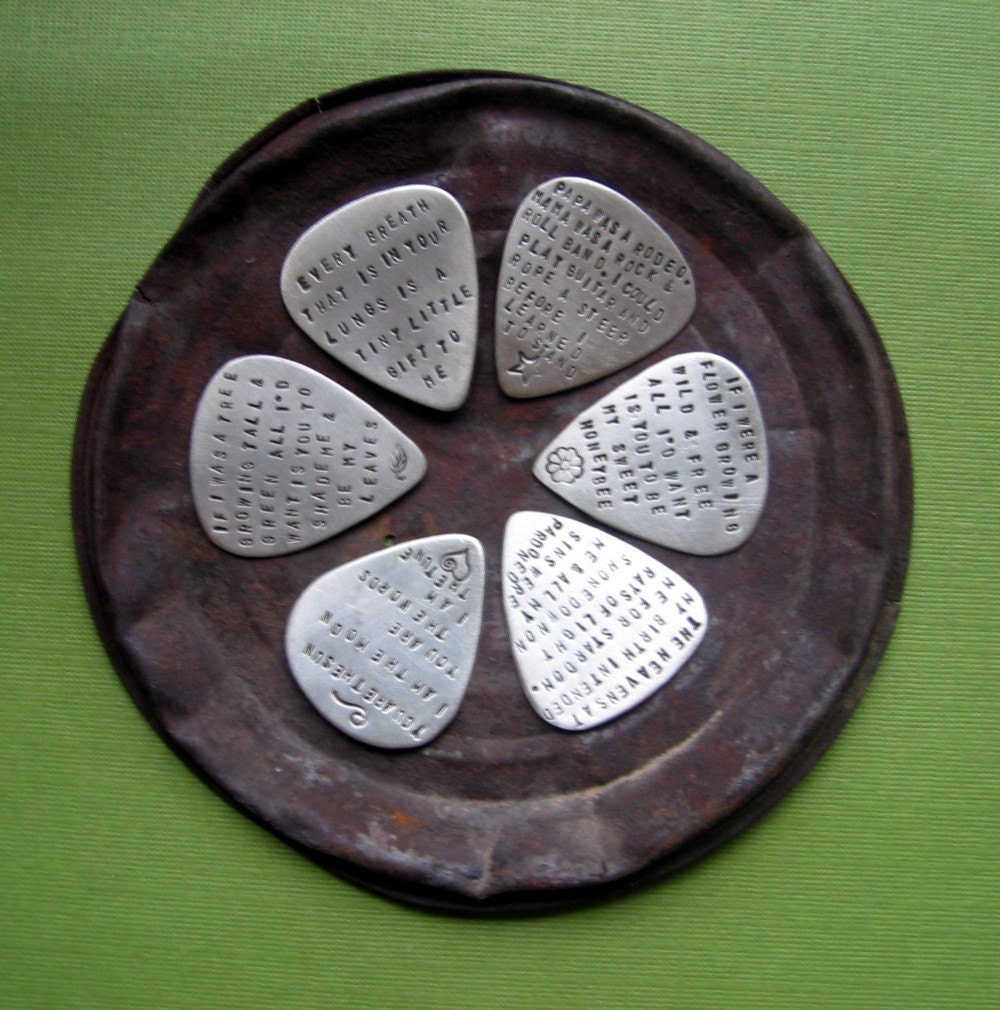
I stumbled across these awesome finds via the Handmade Holidays section in sew, mama, sew. I wish so bad I could buy these for my little brother, but my price limit for him, unfortunately, is $20-30 (although I'd be more than willing to trade if said seller were interested in swapping for sewn or crocheted items =) ).

Either way, I saw these and HAD to share. If you know anyone on your list that plays gituar, this would be the ultimate gift. If I could, I'd get the lyrics to that Kansas song, goes something like "On a stormy sea of moving emotion Tossed about, I'm like a ship on the ocean I set a course for winds of fortune, but I hear the voices say Carry on my wayward son. " Or some other very "Allen" song. He likes so many different forms of Rock, it'd probably take me a week just to pick a song. TOTALLY off topic, because I'm not even buying this lol.

Do admire... for these definitely ROCK

Sterling Silver engraved gituar picks from Silver Sparrow Designs. They sell other things as well, but this is what really caught my eye.


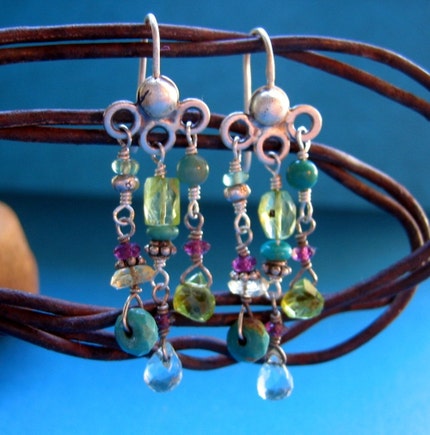
And these... because you guys know how much I absolutely love really unique anti-typical design and colored jewelry (BTW, I won those earrings from her, forgot to mention that, they are AWESOME).


Here's her blog....

Monday, November 17, 2008

Cold Winters Night gift idea

This is going to one of my lucky relatives. She doesn't read the blog, so it's okay to share =). I can't wait to get this one started!

Sweet Dreams Gift Set-
Pink handmade pajama pants (can't decide between flannel or flannel backed satin, toughie)
Scented candle (see info below)
Coffee mug in coordinating colors
A jar of Triple Chocolate Mint Cocoa Mix (Her fave ice cream is mint chocolate chip, so I can only assume she'll like this too.... no secret telling to those of you who might know who I'm talking about!!!)

I'm going to do the cocoa mix similar to the way the 'cookie mix in a jar' is done. Put in a mason jar, fabric around the lid, instructions tied on.

Now a little info on these Henri Bendel candles. These are my absolute favorite candles ever, hands down. $26 sounds pretty steep for one lil ole candle... BUT 1) you can get them on deep discount if you keep your eyes open, especially on Black Friday; 2) They are so freakishly amazing... I have one that sits on my breakfast table and the whole area smells like it, even though I haven't lit it in months. Just the warmth coming from the window works. These candles are absolutely awesome. If you know a candle lover, this is a definite must on the gift list.

Gifts for in the kitchen

This year, we're giving lots of handmades. I've already started working on crochet stuff and I've got several things in mind. I wish I could take pictures of the crochet stuff I've made thus far, but my camera is BUSTED. =-(
I'm here today to share with you an awesome idea... cookie mix in a jar!

The recipe and directions are available here.

Here are my suggestions-
1) Save money on the jars by buying them from thrift stores. One good wash and they are good as new. You can buy lids from the grocery store. The jars are the expensive parts. Lucky for me, I have tons thanks to my mom.
2) I like what they did with the ric rac. You could also use raffia, hemp rope, or a strip of fabric that coordinates with the fabric you used for the top.
3) Handwrite the recipe on a nice recipe card for added charm.
4) Pair the jar with a handmade apron and wooden spoon for a nice little kitchen gift set.
5) Instead of chocolate morsels, add Christmas colored M&Ms.


More Handmade Holidays ideas to come =)

<3>

Friday, November 14, 2008

Tips from a self proclaimed Black Friday Pro

As most of you know, I'm a shopping addict (no, literally, it's my drug of choice... it fills those gaps that most people fill with bad habits... so instead of being a junkie, I just have a bunch of stuff I don't need). I have gone marathon shopping every Black Friday since I was 15. Here are some tips to get the most out of the day.


1) Most important tip- Make a spreadsheet or list of everyone you need to buy for. If you have Microsoft Excel or Microsoft Works spreadsheet, that's the best thing to use. List names down the side, then in the other columns beside the names write clothing size, things they are into/hobbies they have/ things they have asked for or mentioned they'd like to have, stores to look in, age range or gender (so you can arrange the spreadsheet by age/gender... it makes it easier.... I put F and M for adults and Kids for the kiddos, then arrange the spreadsheet that way so when I'm at Toys R Us I can clearly see all of the kids names, and when I'm at Bath & BW I can clearly see all of the females on the list), and price range you'd like to stick to for there gift. So.... price range, gift ideas, size, stores to look in, and gender/age. Mine looks like from last year, I keep all of them on one spreadsheet so I can look back and see what I've bought them in previous years (I hope no one on this list stumbles across it.... ackward)-


2) Standing in line is worth it.

3) Get the Thanksgiving news paper AND the Sunday paper the Sunday before thanksgiving. Even with all of the wonderful awesomeness that is the web, you'll still find lots of really useful coupons and sales ads that aren't posted online.

4) Plan ahead. Plan where you are going to go, find out what time stores open, decide where you are going first, second, third, and so on (not necessarily stores, except maybe the first store, but general areas....) Here's an example, what I did last year- Outlet mall (first store- Coach outlet.... get in line at 10:00pm thanksgiving, they open at 12:00am), leave the outlet mall around 4:00am and head to Walmart by my house (upon arriving at walmart, search for the items I'm looking for so I know where to go when they start unwrapping), after walmart head to the mall (Macys first), dart around to the PRE SELECTED stores (to avoid wasting time and shopping for myself), head to Kohls/Target/TJ Maxx, go home.

5) DON'T BRING YOUR CHILDREN unless you ABSOLUTELY MUST. It's a mad house and it's kinda not safe. If at all possible, get a sitter.

6) I bring my big blue Ikea bag so instead of carrying around 500 small bags I can just throw them all into the ikea bag. I would suggest bringing an empty stroller for putting your bags in, but strollers are despised on this day.... they get in peoples way.

7) Don't waste time looking for a good parking spot... you'll drive around for 15 minutes looking for one. Why spend 15 minutes looking for a spot when you could be SHOPPING! Park wherever you see a spot and get to walking.

8) Wear sneakers and comfy clothes. If you're doing marathon shopping, the more comfortable the better. If it's not too cold, opt for a sweater with an undershirt instead of a coat, so you can just take it off and tie it around your waste if you get hot.

9) Don't forget to charge your cell phone and bring your car charger! You'll be calling around to ask friends and family questions. And remember- just because you are out at 3:00 am shopping doesn't mean your relatives are, so hold off on calling unless absolutely necessary =)

10) Most major retailers who you can purchase from online have the same black friday sales on there websites, so if you're not up for shopping you can still shop online and save.

11) Second most important and should be # 2.... BE NICE!!! Be patient!!! Everyone is waiting in line... not just you. Everyone wants out ASAP. Everyone is cramped. You got yourself into this mess, so make the best of it. It can be fun. Standing in line for 15 minutes is part of the process, so don't look around at the cashiers as if they are going too slow or something. Everyone wants to move on to the next store. Remember to be friendly to the cashiers, this is one of the hardest days of the year for them.... and they'd rather be shopping too. So be nice and friendly. Say "Thank you!" and "Happy Holidays to you too!"

Hope these help! Happy shopping everyone!!

PS- Cafemom Etsy Moms Street Team is having a Black Friday sale. I'll post more when I know more, but I've already picked out items from several sellers. If nothing, just search etsy for 'cafemom team black friday'.

Friday, November 7, 2008

Christmas Shopping Etsy Style ~ Part two

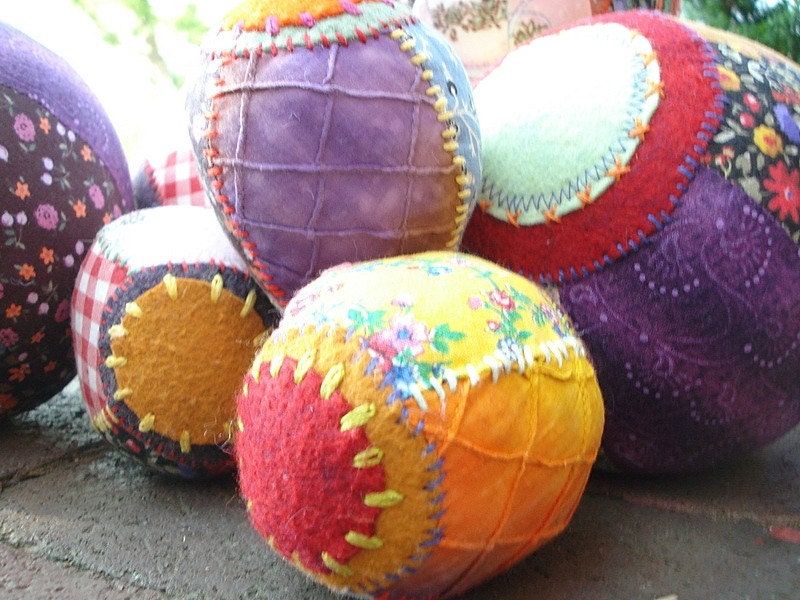
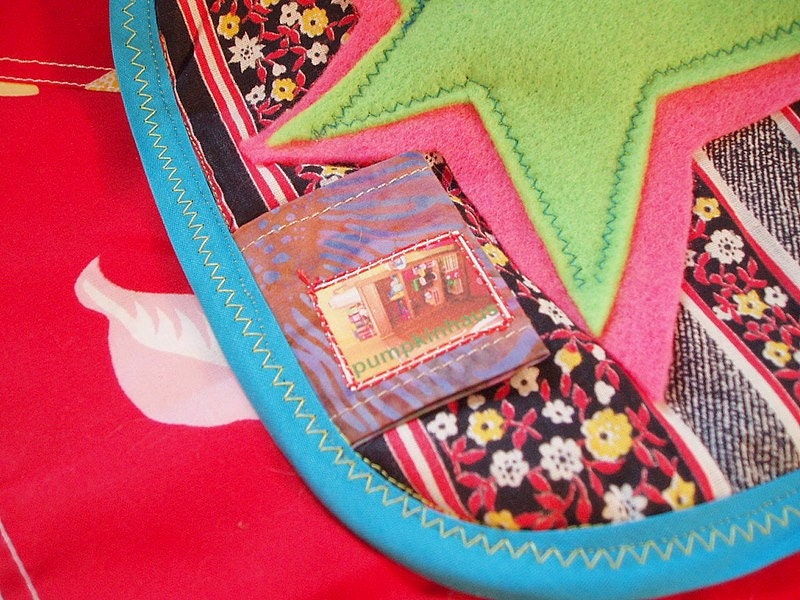
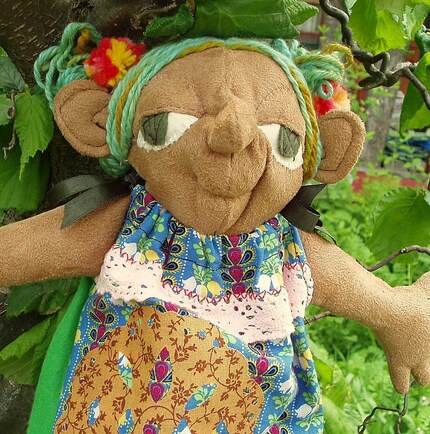
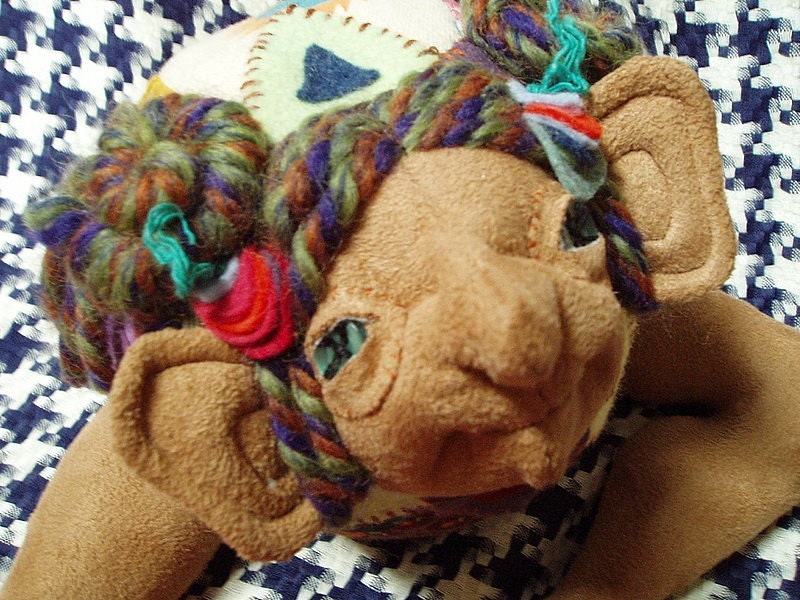
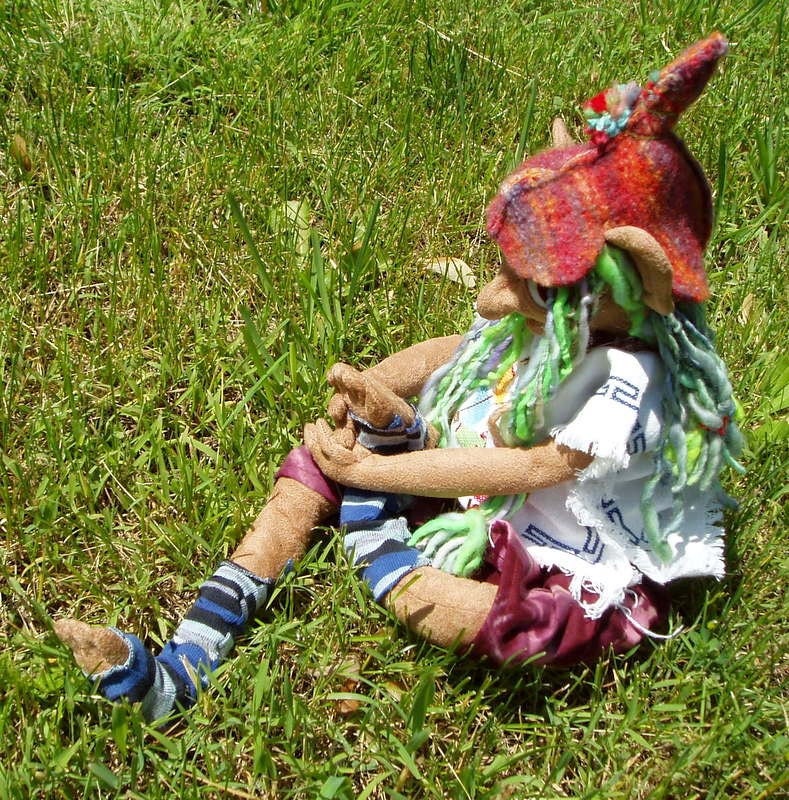
I love an artist that just oozes with originality. As I said in my first CSES post, that is one of the most important keys to success. Here's another one of my favorite uber original etsy sellers, pumpkinhaus. I love her use of color, her hand stitching, and ability to transform fabrics I'd typically overlook into absolutely stunning creations.


One of my all time favorite etsy items are her Earthiles (I could never pick just one favorite Earthly). Each doll is handcrafted and no two are alike. The detail is amazing. The creativity and originality even more so.


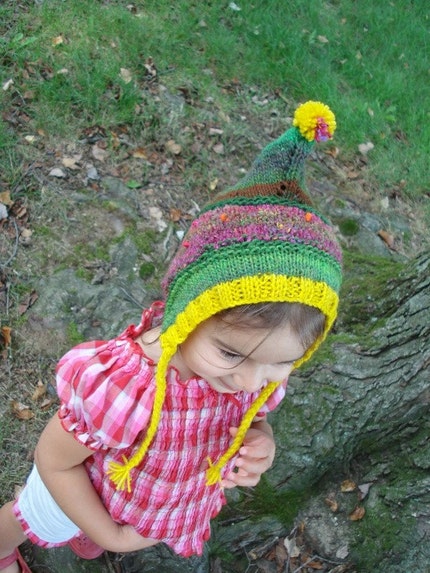
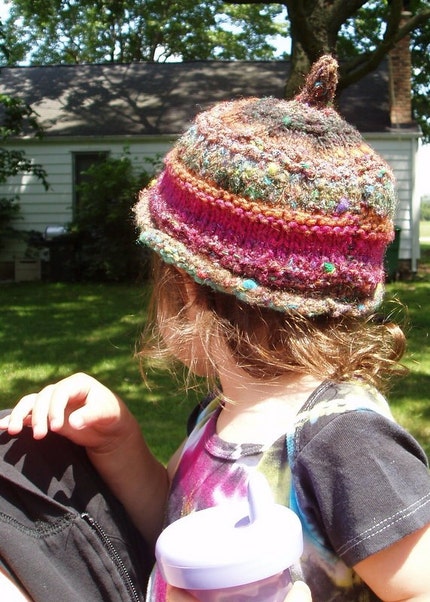
Looking for more originality? Ever heard of a boobie hat?


So, check her shop out.... and her blog.